How to take care of dead grass: reviving your lawn
Also called reviving dead grass, fixing dead patches in lawn
By Oshawa Lawn Care · Updated
- You need
- A rake, Grass seed, Fertilizer, A hose or sprinkler, Other
- Effort
- Moderate
- Time
- About 2 h
The short answer
Check the crowns first: white means dormant grass that will wake with water, brown and brittle means dead turf that needs repair. Real repair means clearing the dead material, loosening and improving the soil, then seeding or sodding and keeping it moist until established.
There is nothing more disheartening than watching a lush green lawn turn into a patchwork of brown. But brown is not a diagnosis; it is a symptom with half a dozen causes, and one of them, dormancy, is not even a problem. Before you spend a weekend or a dollar, work through this guide from our lawn guides in order.
What you need
- A rake and a shovel or hand cultivator
- Topsoil or compost
- Grass seed and starter fertilizer, or sod for bigger areas
- A hose with a gentle sprinkler setting
First: is it actually dead?
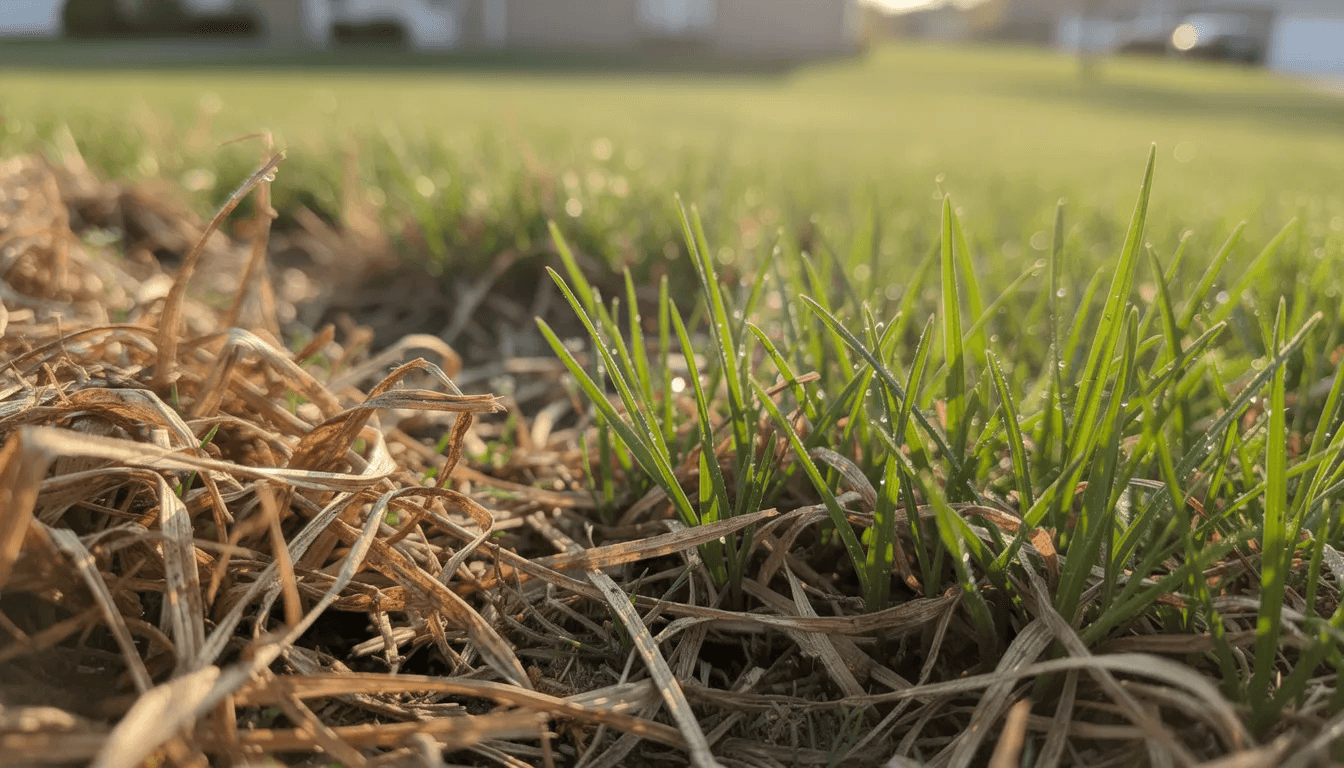
Grass protects itself from heat and drought by going dormant, browning above ground while the crowns stay alive. Part the blades and inspect those crowns where blade meets soil. Whitish and flexible means dormant: water deeply for a week or two and it returns on its own. Brown, dry and brittle means dead, and the patch needs real repair. Check a few spots; a lawn can be dormant in the sun and dead over a grub infestation at the same time.
While you are down there, find the cause. Turf that peels back like loose carpet means grubs. Rings and odd-coloured patches point to fungus. Brown ribbons along the driveway are salt. Fix the cause first or the repair dies the same way.
How to bring a dead patch back, step by step
- Clear the patch down to soil. Rake out the dead grass and any weeds, roots and all, so new roots meet earth instead of a dead thatch mat.
- Deal with heavy thatch. If the spongy layer between grass and soil is over about 1 cm, remove the excess with a power rake before repairing; it blocks water and seed contact alike. On bigger lawns this is our dethatching service.
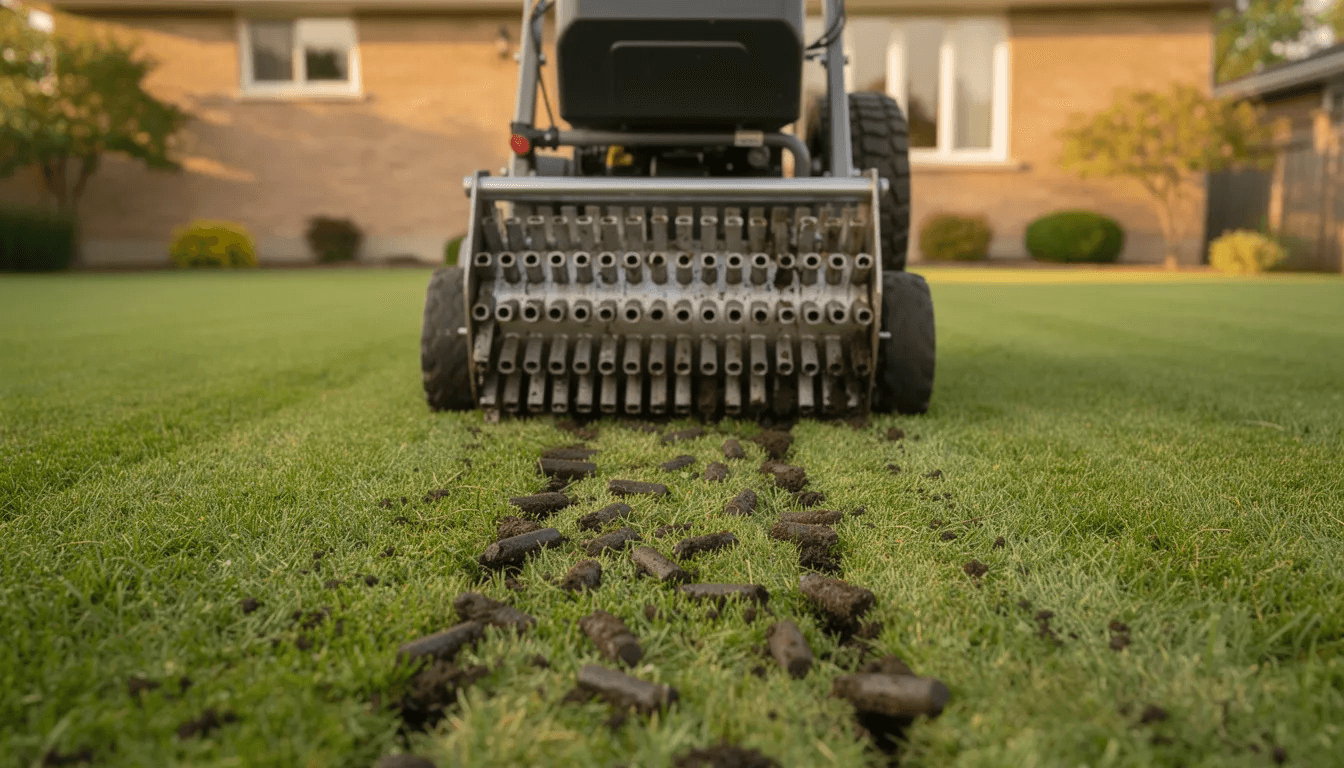
- Loosen and improve the soil. Work the top 10 to 15 cm loose. Our Durham clay benefits from compost worked in; very sandy pockets do too, for the opposite reason: one drains too little, the other too much.
- Feed the ground, not the guesswork. A soil test tells you whether phosphorus is needed; otherwise a standard starter fertilizer raked into the surface does the job.
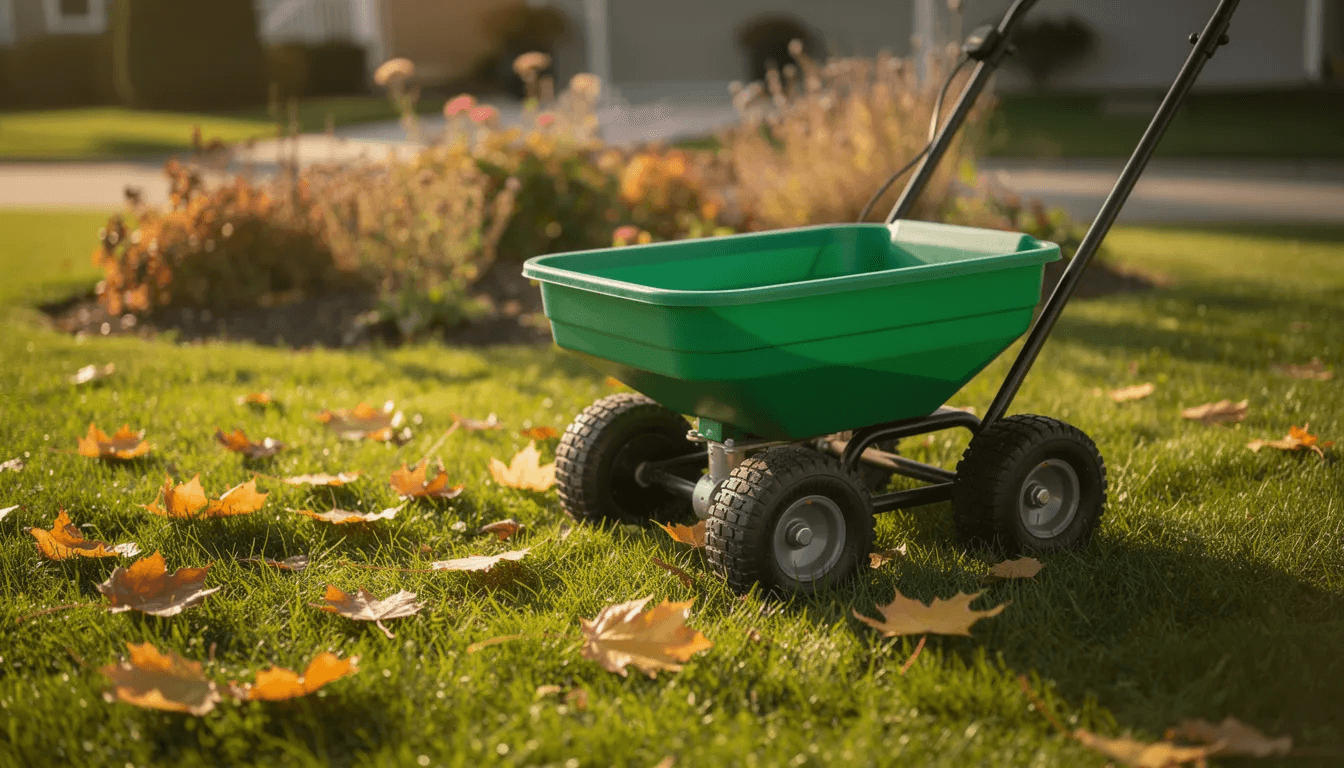
- Seed or sod. Broadcast seed in two directions for even coverage, or lay sod with joints staggered like brickwork. Match the grass around it: ryegrass and fescue blends suit most Oshawa lawns.
- Press it into contact. Roll sod, or gently firm seeded areas, so roots and seed touch soil instead of hovering over air pockets.
- Water like it is a nursery. Keep the surface consistently moist with light, frequent watering until establishment, then shift to the deep, infrequent routine in our watering guide. Deep watering grows the deep roots that stop this from happening again.
- Keep traffic off it. No feet, no dogs, no mower until the new grass is established and has been cut-worthy for a couple of weeks.
When to do the repair
Timing decides how hard this job is. Mid-August to mid-September is the sweet spot in Oshawa: the soil is warm enough for fast germination, the nights are cooling, fall rain is on the way, and the weed pressure that smothers spring seedlings is fading. Spring, once the soil is workable and night frosts have ended, is the workable second choice, but be ready to water more and weed around the new grass. Midsummer repairs mostly grow regret; if a patch dies in July, keep it watered and tidy, and plant in the fall window a few weeks later.
Keeping it alive afterwards
A revived patch joins the rest of the lawn’s routine: regular mowing at the right height (never removing more than a third of the blade), seasonal feeding, and about 25 mm of water a week from sky or sprinkler. Give it one gentle first cut when the new grass reaches about 8 cm, with sharp blades so the seedlings are sliced instead of yanked out.
If patches keep reappearing in the same places every year, stop replanting and start diagnosing; that is a pattern, and patterns have causes: a grub cycle, a drainage low spot, winter salt spray, or a dog with a favourite corner. Our lawn repair service does exactly this, cause-hunt included.
How to take care of dead grass: reviving your lawn, answered
How do I tell dead grass from dormant grass?
Part the blades and look at the crowns, the pale knuckle where blades meet the soil. Whitish crowns mean the plant is alive and dormant; brown, dry, brittle crowns mean it is dead. Dormant grass also greens up within a week or two of deep watering; dead grass never does.
Why did my grass die in the first place?
Find the cause before repairing or it happens again. The usual Oshawa suspects: grubs eating the roots (the turf lifts like carpet), fungus patches, road salt along driveways, dog urine spots, compaction on walking paths, and drought on shallow soil.
Should I seed or lay sod on a dead patch?
Seed is cheaper and blends better into the surrounding lawn; sod is instant and wins on large areas or where you need cover before erosion or weeds move in. Both live or die by soil preparation and watering.
When is the best time to do this in Ontario?
Mid-August to mid-September is ideal: warm soil, cooling nights and fall rain give new grass the easiest start. Spring is the runner-up, once the soil is workable.